I’ve flown with several types of cases, all covered in some fashion in other posts on this site. Full-sized hard shells, soft cases, hard S&S cases, soft S&S cases, and basically, in all forms, at some point they pissed me off.
The issues range from size problems (large hard shells don’t fit well in rental cars or Venetian alleys), soft cases may be more susceptible to damage, hard S&S cases are notorious for cracking, and soft S&S cases roll the wrong way. It seems that case designs don’t take into effect ergonomics, ease of use, or how they will be packed in an airplane or rental car.
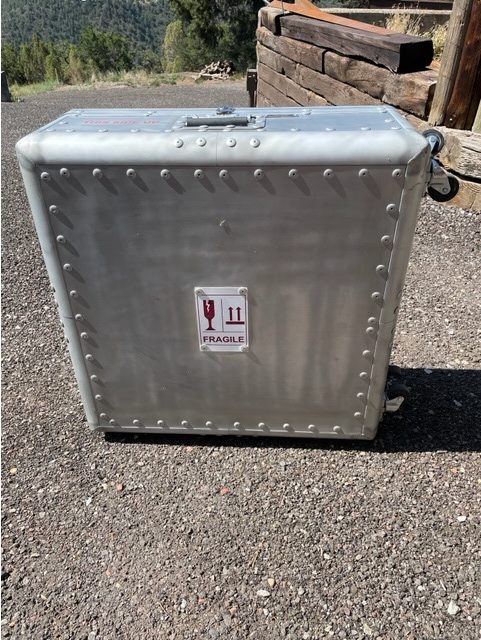
I saw some spectacularly overbuilt cases on Buxumbox.com, massive aluminum tanks designed to protect your bike and empty your wallet. Their bomb-proofness impressed me, with aluminum extrusions, rivets, powdercoating, and more. Just the milled parts alone look impressive. I considered buying their S&S case, even though it was a serious stretch of my budget, and then I looked closer at their design, and decided it was significantly lacking in several areas. I sent them a few emails, but got basically nowhere with any possibility to make changes. This is not to trash Buxumbox, it’s just they didn’t have what I think a case needs, and they didn’t want to update their design.
So, being a designer, it was clearly going to be up to me to create the case I wanted, with the features I think it should have.
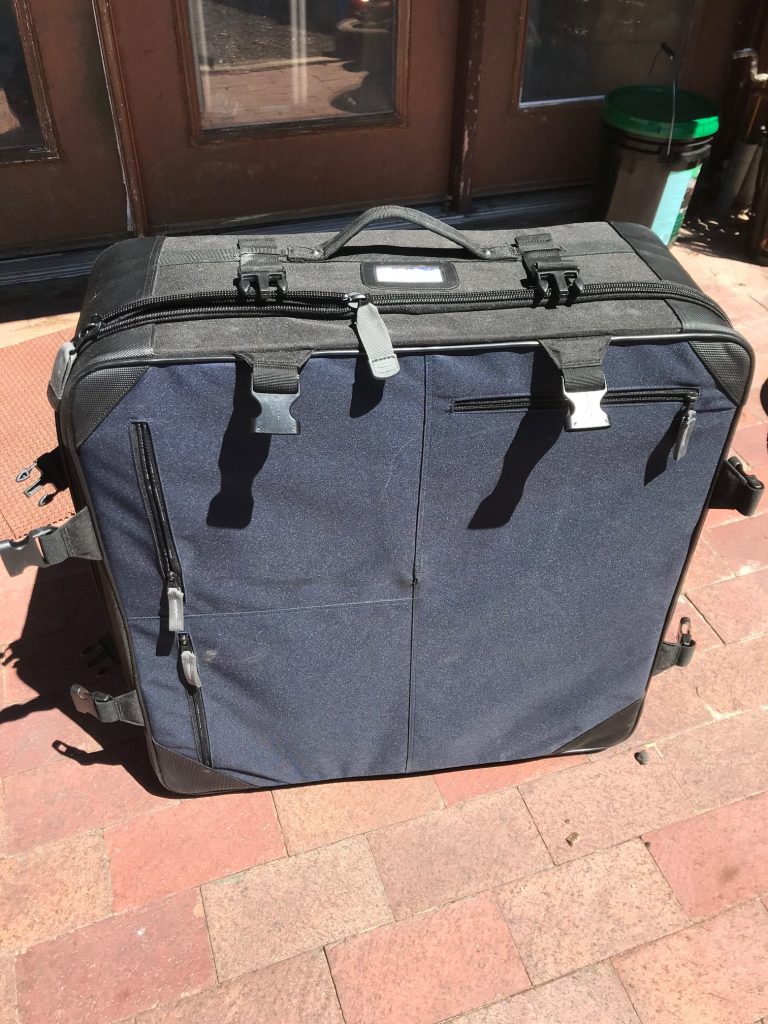
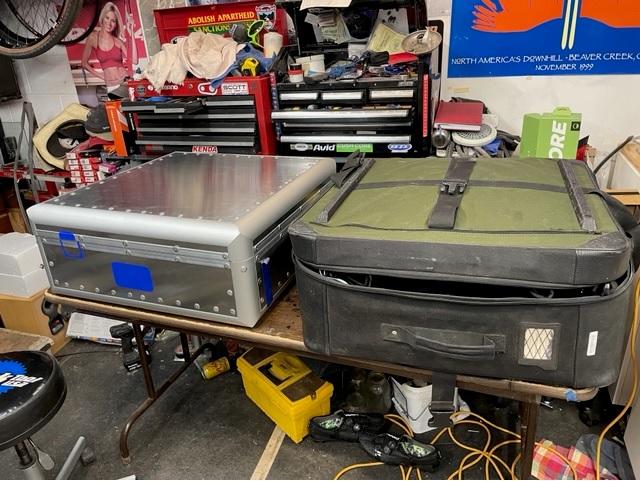
Although I am somewhat satisfied with my Co-Motion CoPilot case, I do not like the handle design and wheel position. The case gets towed behind me, and I kick the case with my heels as I walk. The case is also about 26″ wide, so a bit of a hassle getting through turnstiles and train doors, as I have to lift it and rotate it. Instead, I want a case that travels edge-wise, with swiveling casters, at my side. Additionally, the fabric has been pretty abraded due to the design of the seams and the ridiculously useless pockets on the exterior.
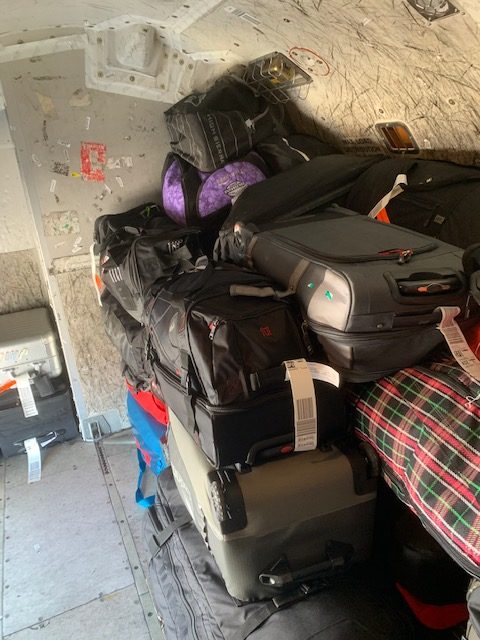
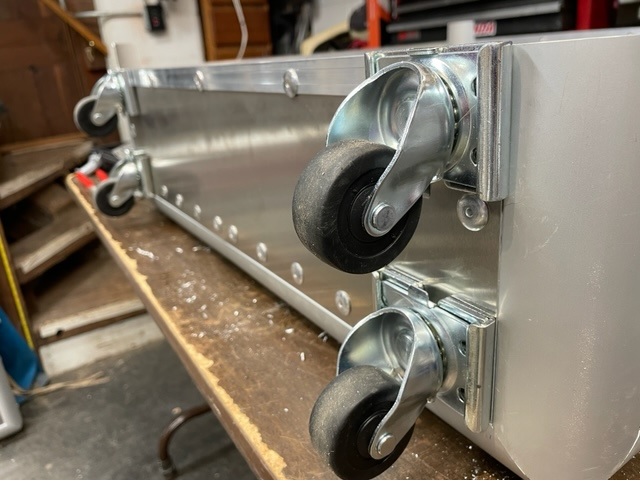
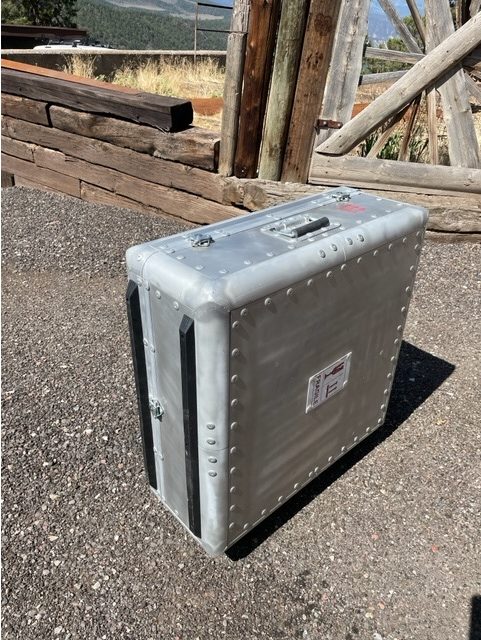
Another design aspect that is often ignored is the process of putting a bag on an airplane. There are some very simple rules: tags out, wheels don’t go on the floor. These are hard rules, part of the documented procedures. How the stuff is stacked is up to the ramp agent inside the pit. Most suitcases are designed with a handle on one end, a handle on the side, wheels on one side, and feet on another. Many bike cases don’t follow this pattern, either because of size or design. I decided to put 2 handles on, at 90 degrees, use removeable casters, and put linear feet on the 4th side of the case. In essence, this lets me control where the bag tag gets installed by the gate agent and how the case gets stood on end in the pit.
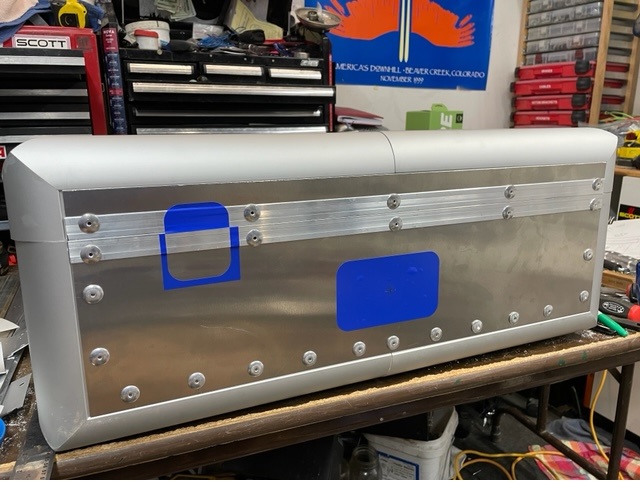
In studying the Buxom design, the most impressive element is the corner extrusions they use. For a company in the business of manufacturing cases, designing and sourcing extrusions is part of the process; for me, it was the biggest hurdle. I stumbled across a solution: drywall bullnose. Fry Reglet makes a wide variety of drywall extrusions, including a 1-1/2″ radius version.
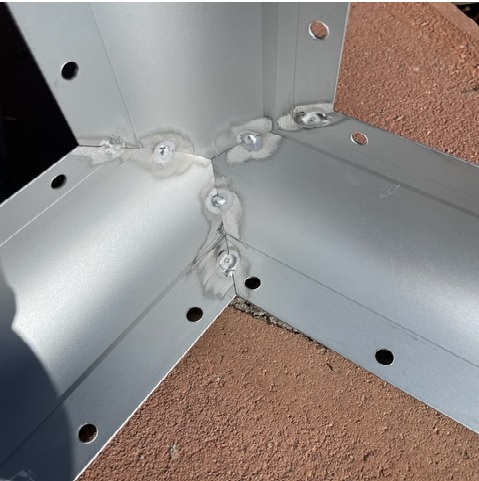
This extrusion is impossible to hook a tape measure on, in the off chance a gate agent wants to measure the case. Fry will also weld these into 3-legged corner pieces, thus solving the mitered corner challenge I also faced. The local drywall supply house was able to order them for me, and a buddy with a DC welder doubled up the joints with big beads. A really nice aspect is that the mud flanges (the part that gets screwed to the wall, covered in drywall compound, sanded, etc.) have regularly-spaced pre-drilled holes.
I bought large-head pop rivets, a 10″ non-ferrous metal sawblade, sheets of 24″ aluminum, and some foam. I also bought extrusions from a road case manufacturer, butterfly latches, and removeable casters. Realistically, by the time I was done, I probably paid about the same as if I had bought a case, but I would be getting the design and features I wanted.
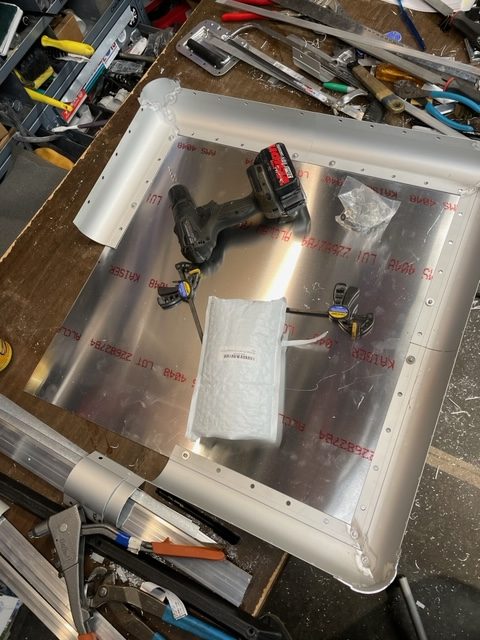
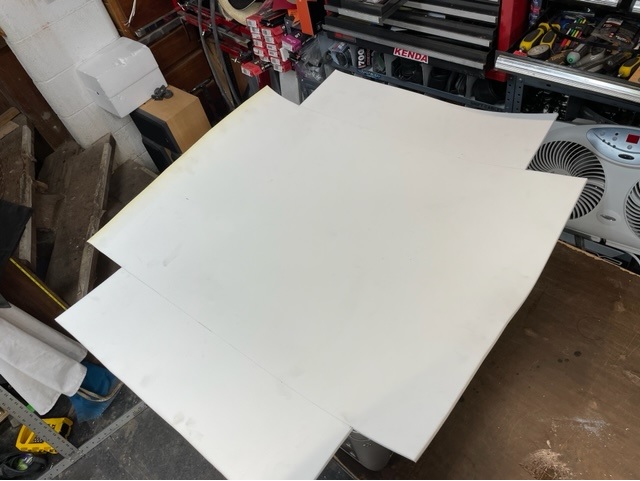
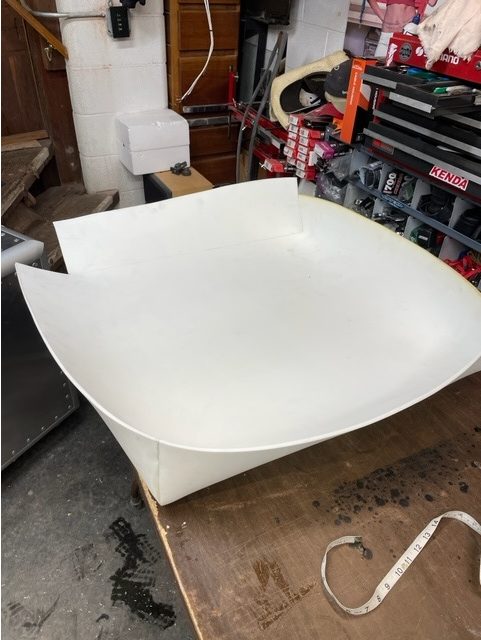
Quite a lot of non-productive time was spent at my desk in CAD software, as I agonized over every dimension and detail. I moved handles, latches, hinges, wheels, and more. In the end, I decided no hinge was needed, it simply complicated the closure. I also moved my latches and handles away from the center of the sides to reduce conflict with where the wheels. I was counting every millimeter, trying to keep the design under 62 total inches (maximum bag dimensions). It should be noted that as of this writing (January, 2022), all major US airlines have stopped charging for bikes, and will only add fees if the case is over weight (50lbs). Until they decide revenues are down, bikes travel without a surcharge, in the manner of golf clubs and skis. So, it’s probably OK that I am over the 62″ threshold, but then, so are most bags that are trying to sneak under the limit. I ordered up all the material from a variety of places, and once delivered, I put the blade in the table saw and went to work cutting the panels to size. I moved the blade on my chop saw and cut the extrusions to size. I then set the sheets onto the extrusions on my work surface and center-punched all of the holes in the extrusions. After that, it was lots of drilling and riveting.
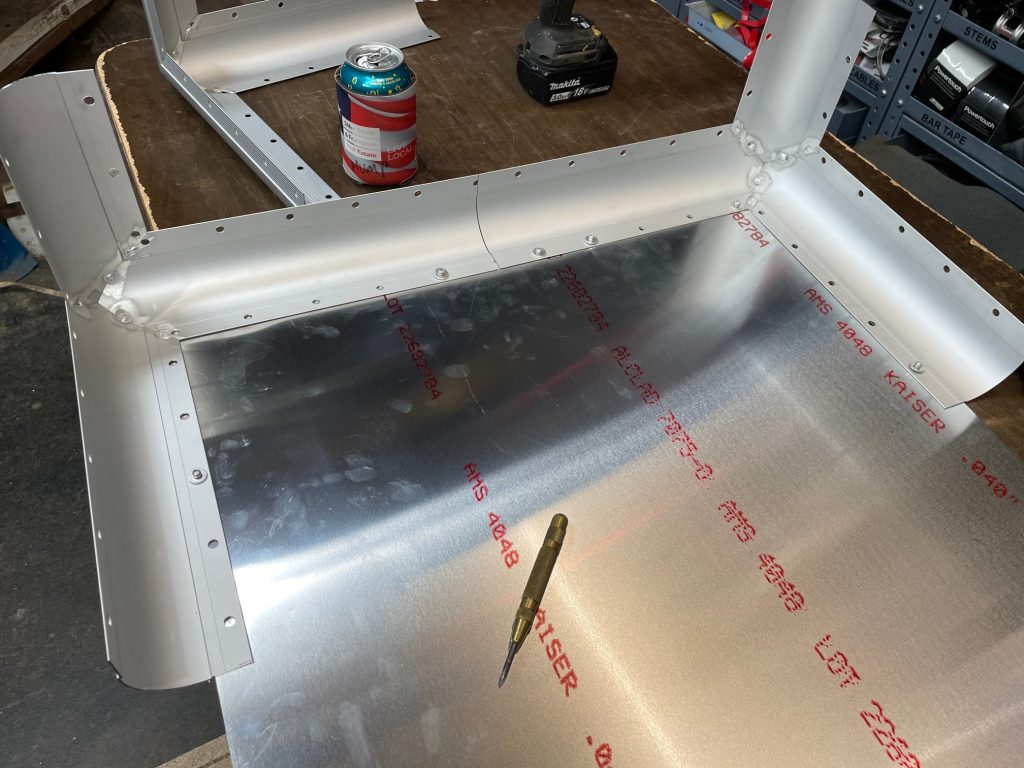
The case came together surprisingly easily, particularly since I was building free-hand without jigs and fixtures. Assembling the top to match was a bit of a challenge, but by fitting the frame pieces in one-at-a-time, I was able to maintain alignment.
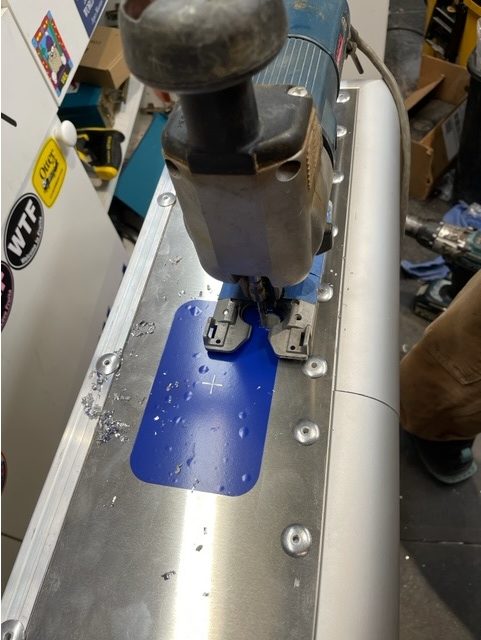
I used my vinyl cutter to make templates for the latches and handles.
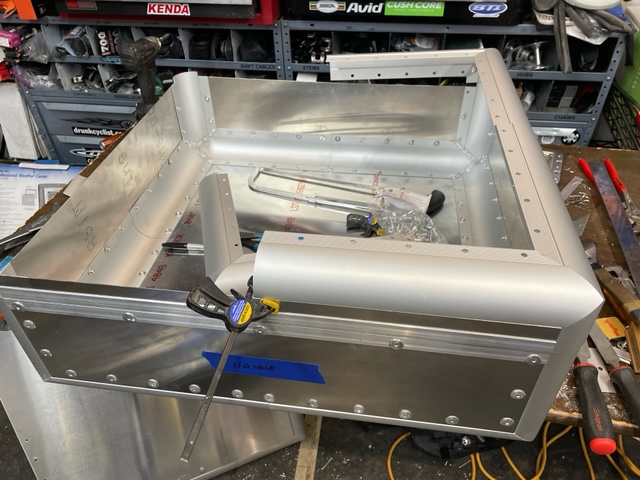
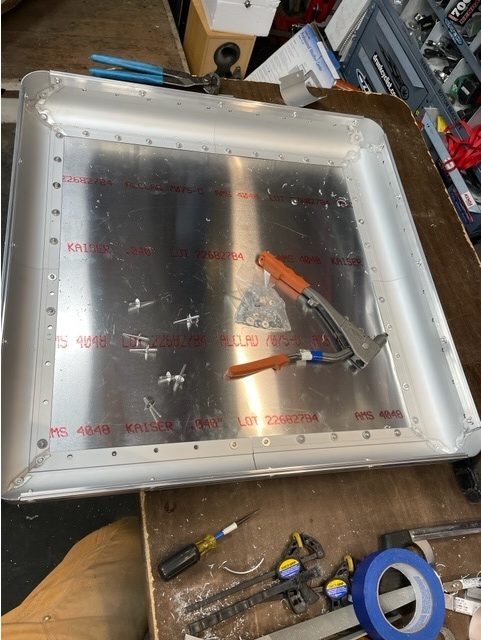
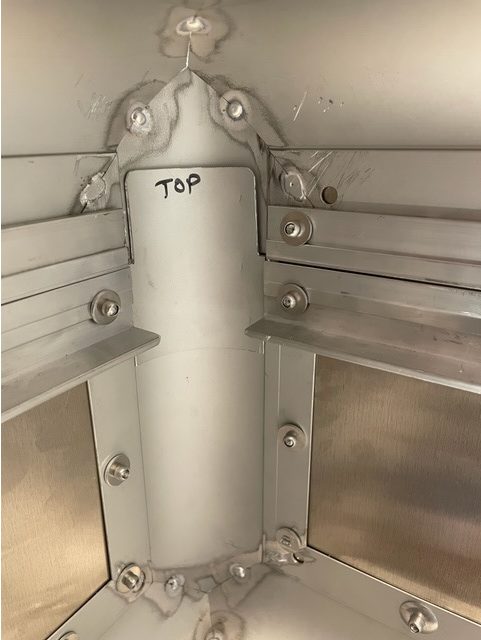
Since I had decided to eliminate the hinge and make the the lid free, I added tabs for alignment. The base has 2 tabs that stick up, the lid has 2 that stick down, you simply align the tabs for closure. I used off-cuts of the extrusion for the tabs and as stiffeners at the joints.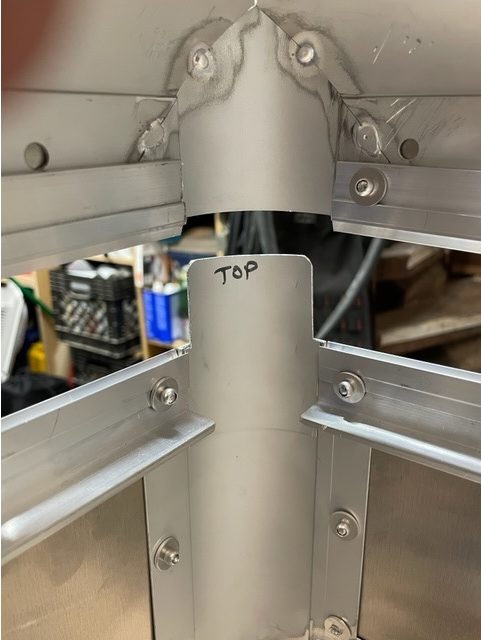
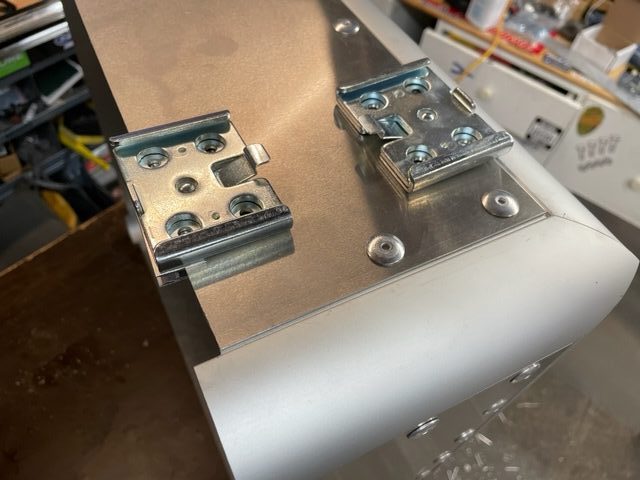
The time spent in CAD was well worth it, as I realized that I did not need a telescoping handle- the added height of the casters brought the case right up to my hand. This saved time, complexity, and money, as well as weight in the case. Buxom shows regressed casters in their large cases, which I gave consideration to, but the fabrication would have been difficult and very complex. I solved the issue of protecting the casters from damage by using a removeable style, which are common in road cases for entertainment.
Flush spring-loaded handles don’t get caught on things.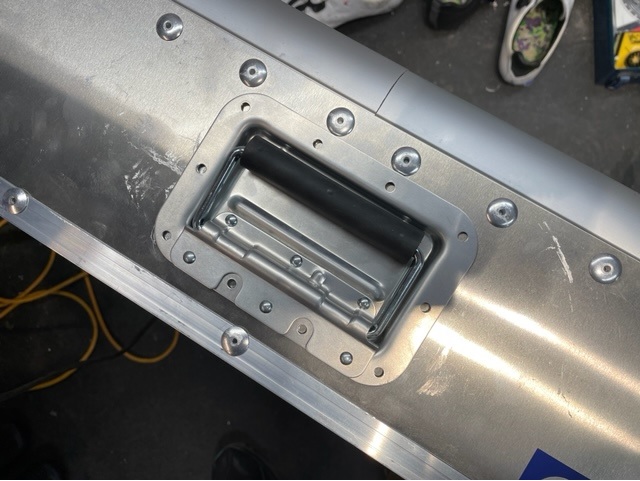
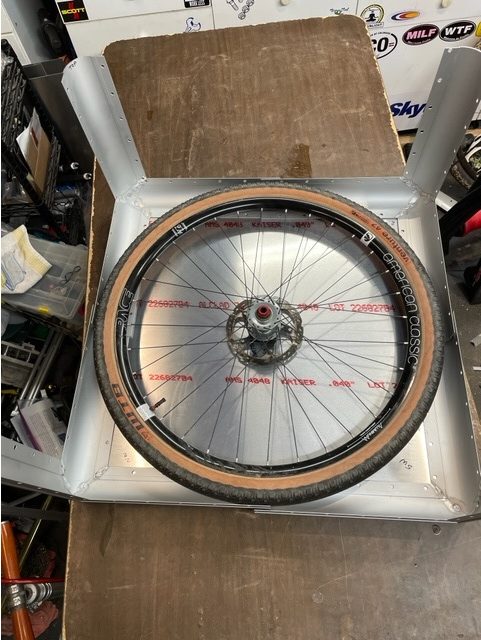
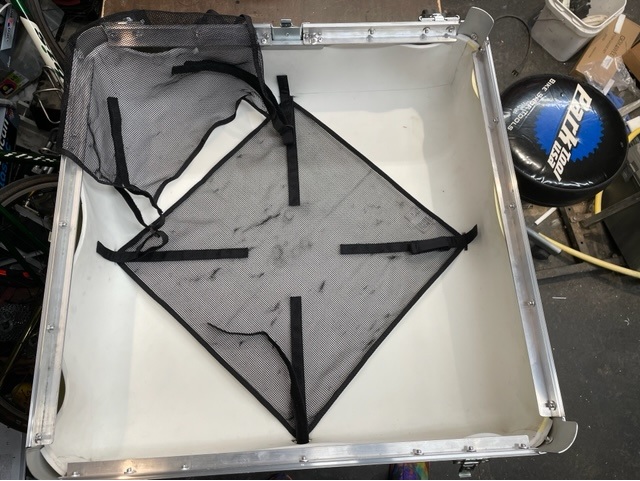
The interior was spacious (for a travel case) and fit 650bx50 and 700×32 wheelsets, both inflated. I added small tie-downs for the netting, then created a foam liner.
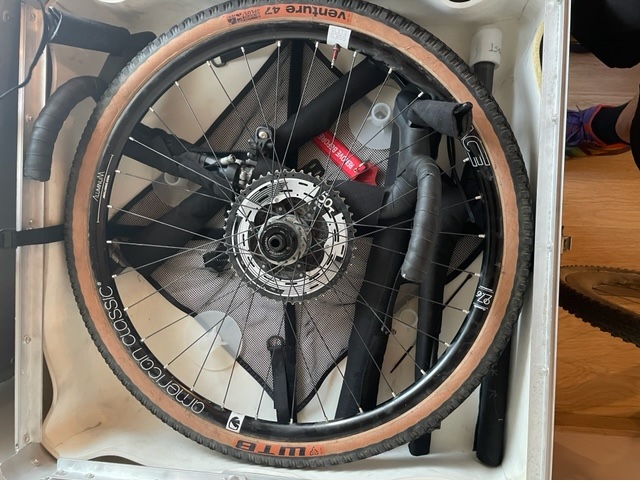
After assembly was complete, it was time for multiple iterations of packing my bike. I eventually discovered that it packed better with the rear wheel as the second layer, with the front half of the frame and fork set below, and the bars laced through the spokes.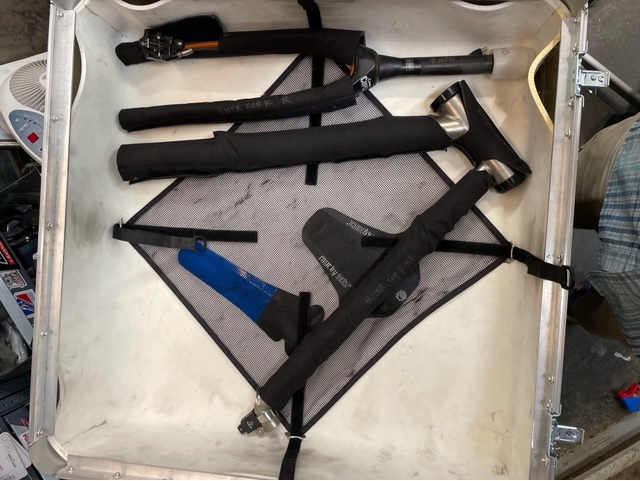
Eventually I settled on a method that worked pretty well, and with the internal stiffeners, ended up with a solid pack job.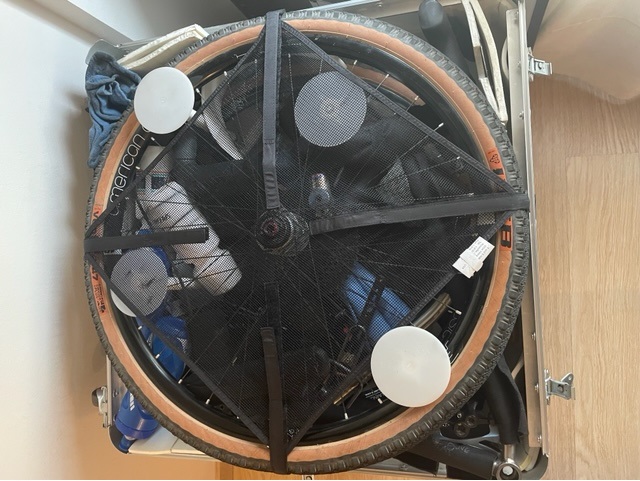
Rotors and fenders can go in flat underneath the net, then bottles and so forth get tucked in as best as possible. In all, I put the whole bike and some accessories in and was at 49.5 pounds.
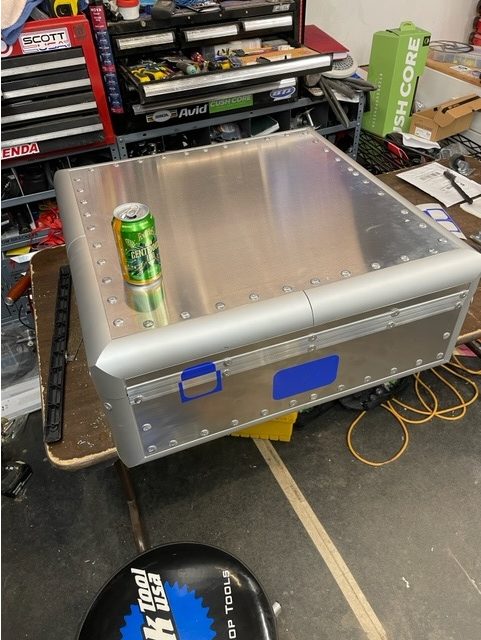
It ended up being about the same size as the Co-Motion case, and slightly heavier. I think it rolls much better, and because it is at my side, rather than behind me, it is easier to move on and off of trains, escalators, and so forth.
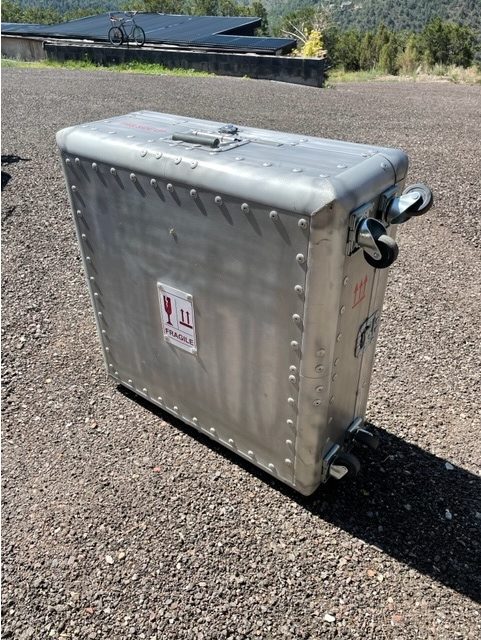
The case is designed to sit on end, but when being transported, it’s arrows are sideways. In truth, there is no true UP, but it is stronger on edge, so feet are placed on the side. I installed small double layers of aluminum at the center of the large faces, where the hubs are in contact with the case. These are painted as fragile labels.
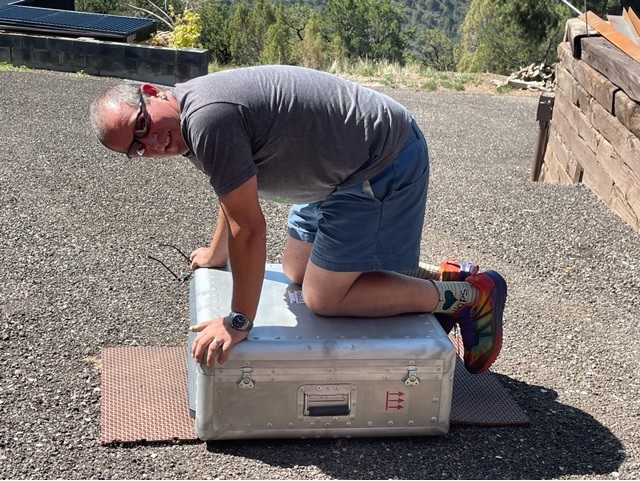
With the internal stiffeners, the case is pretty sturdy.
It’s now traveled internationally twice, once slightly before the Delta Variant ran amok, and once before Omicron appeared. Both times, it traveled very well, collecting small dents (as expected) and some scratches. None of the extrusions are bent or damaged, and the panels have survived. Each element can be replaced by drilling out the rivets and removing the part. Being a large, hollow box, it makes a booming sound as it rolls, much like a bass drum in a marching band.
If I was to build it again, I might make minor changes, but for the most part, I am quite satisfied. I replaced the surface-mount butterfly latches shown above with recessed versions, but beyond that, have no changes in mind.
I showed my wife the fruits of my labor, and she was duly impressed. I had her roll the case around to test it, which she dutifully did. She complimented my work, then told me she prefers the Co-Motion case.
One Reply to “Traveling With a Bike Sucks, Part III: A Better Mousetrap”
Comments are closed.