Although I’ve touched on this in previous posts, deciding what tools to bring along is both an art and a science. There are many factors to consider: what is on your bike that could break, what is needed to fix it, what your mechanical skills are, the size and weight of the tools & kit, whether there is a shop where you are going that could do the work, and more. Note that the on-bike tools (Dynaplug, tire levers, multi-tool, mini-pump) are not included here – this kit is intended to be totally separate.
Gone are the days when fixing a bike needed little more than a Crescent wrench and a can of 3-in-1 oil, so having the right tool for the job is pretty important. I’ve essentially decided that for my own travel, I can condense the tools and kit down very small and relatively light, but my system assumes that either I’m a long way from a shop that can fix my stuff or there isn’t one with with reasonable hours (i.e. after the bars have closed and I’m panic-building my bike), meaning I bring some sort of solution for nearly every situation.
Before you travel, you of course need to practice packing your bike. When you do so, also practice using the tools you’re thinking of bringing. This will give you the chance to test everything, and you will undoubtably find somewhere the multitool doesn’t work, or you’ll yeet some part across the room, never to be seen again. Don’t do this the night before you leave, give yourself a bit of time to practice and recover from the trauma of packing your bike.
The kits I take with me are broken down into 3 separate, small boxes:
-
- Tools, Parts, and Spares
- Charging & Power
- In-Flight Charging & Power (in my carry-on)
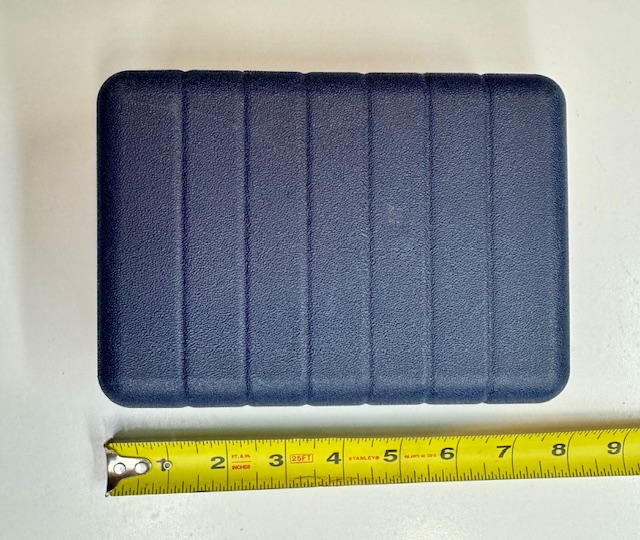
Each is inside a small plastic box, a give-away from United’s business-class seats. They used these little amenity kits for a couple of years, before switching to other useless crap. I’ve since found them on eBay for about $5 each. They are not super durable, and if stressed, the zippers will explode, but they are really inexpensive, easy to source, and pretty functional. And, when they inevitably die, there are a wide variety of similar-sized boxes available.
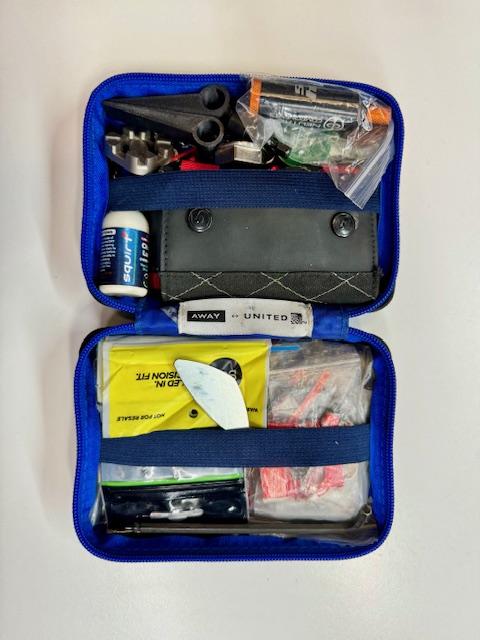
Tools, Parts, & Spares
There’s a lot in this little 8″ x 6″ x 3″ box, and hopefully I will never need the vast majority of it. I can do nearly anything I need to in case I have an issue with the bike, and the kit weighs in at around 1kg/2.2 lbs. It’s compact, over-thought, slightly over-stuffed, and not excessively heavy. Although I like to base in one location when I travel, some trips are point-to-point, and if this needs to be carried on the bike, it’s not too massive. It can also be pared down based on the circumstances of the trip.
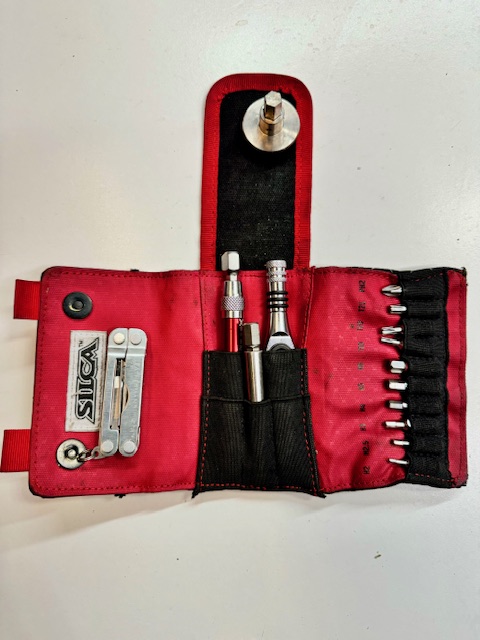
This kit’s primary component is the Silca Ratchet & Ti-Torque tool, or the Feedback Sports Racheting Tool. Both are very good and similar products, with the Silca having a nicer finish but larger case, as well as fussy titanium torque tool. The Feedback tool kit costs less, is smaller, and has a clicking 5nm torque tool. It’s easier to use and packs smaller than the Silca. Mrs. MAMIL likes the Feedback kit more, so it’s in her tool kit. Both have pretty much all the bits you would need, but I added an 8mm and 10mm hex to them. Although not bike-specific, I also put in a Leatherman Micra. This multi-tool has a knife, scissors, tweezers, bottle opener, etc.
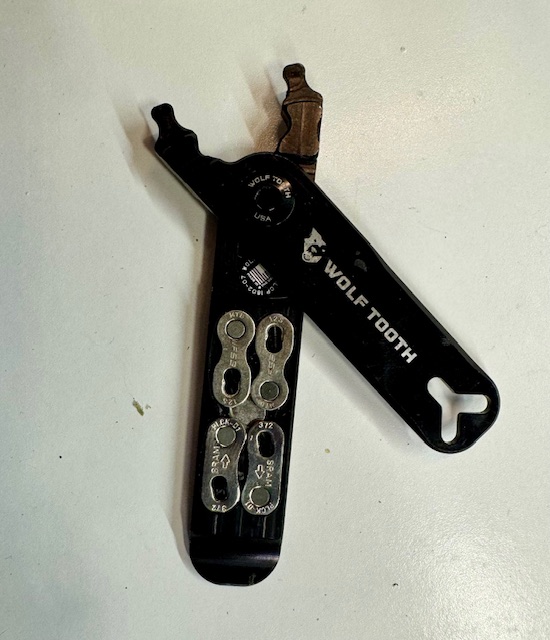
Next up is a Wolftooth Pack Plier with 2 spare quicklinks. This is invaluable for chain removal. An alternative to the Silca & Feedback tools might be a Wolftooth 8-bit pack pliers, which is an excellent tool, but you would lose the ratchet and torque features, and it would be a bit slower and fussier to assemble a bike. I like to use those as everyday carry rather than as a bike assembly and disassembly tool.
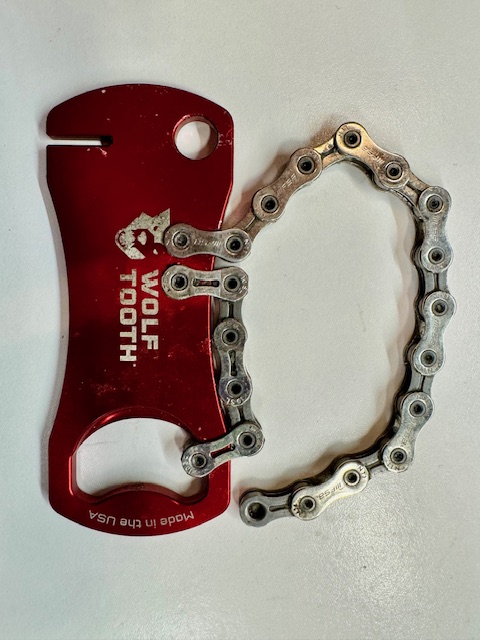
Returning to Wolftooth, I keep a rotor tool with a homemade chain whip adder. It looks ridiculous, but I have been able to use it as a chain whip. I put used segments of chain on to a regular rotor tool, and it’s not ideal, but it is functional for both uses. Wolftooth makes a lightweight chain whip, but it’s pretty long and I was looking for as compact as possible for a tool that will hopefully never be needed. Plus, bottle opener, because if you’re at a point where you need this tool, you also definitely need a strong drink.
I bring a tiny pen from the United kit, drill bit and 8mm nut driver for travel case repairs (as well as spare rivets), a Torx key, and longer 5mm hex key. This is probably specific only to my bike, but it is necessary to get to the aft bolt on my post-mount rear brake. The rachets just can’t get past the frame. 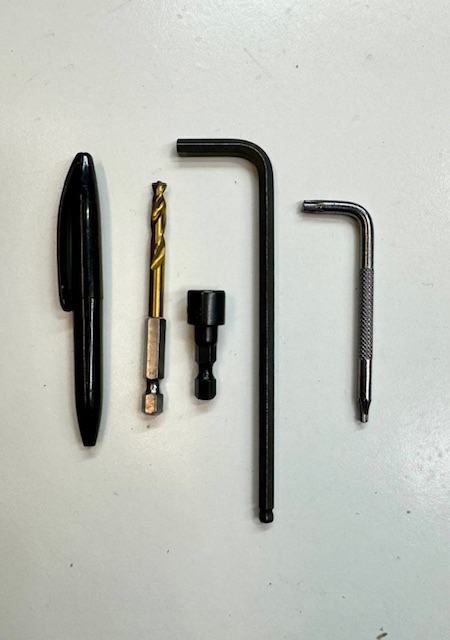
No kit is complete without a spare derailleur hanger. Ideally, you remove the hanger from the frame when packing, but always carry a spare. Unless you have a UDH, finding a spare in some far-off land may be nigh impossible.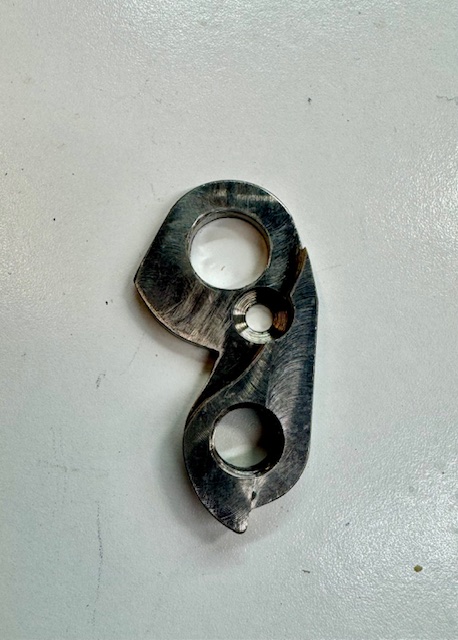
Birzman clamshell brake aligner. These tiny little guys come in packs of three, take up essentially no space, and are handy.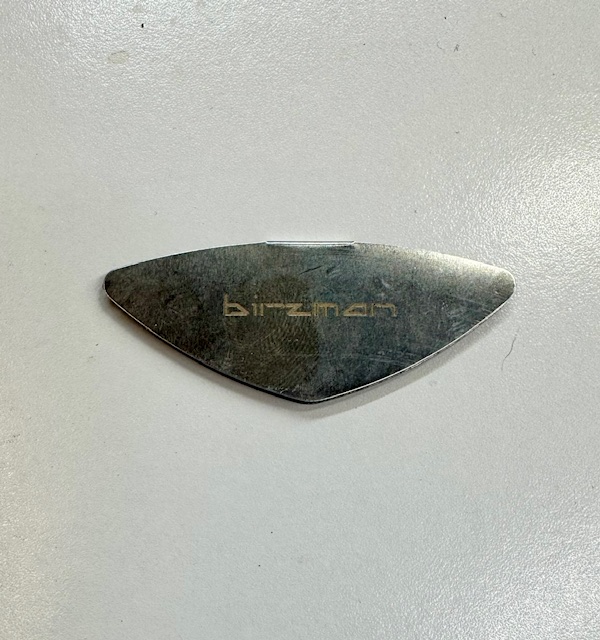
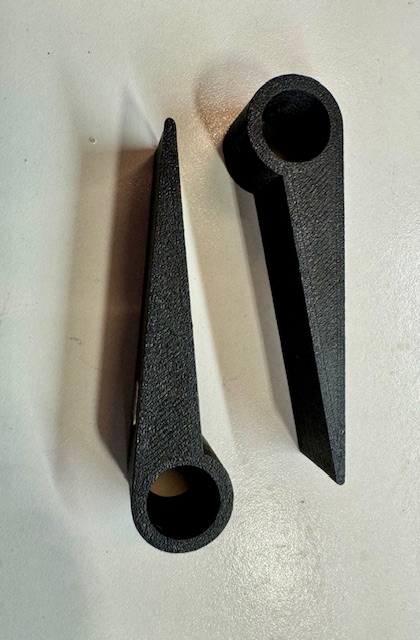
CMH Printed Designs mini piston spreaders. These are just too cute to leave at home. And, sometimes pad spacers fall out in transit and levers get squozen. Or squaze. (Whatever the past-tense of squeeze is.) I’m not sure if he has them listed on his page, but he will make them for you.
Multi-size spoke wrench. Smaller than a quality spoke wrench, and the multi-size can be savior in a pinch. OK, as a rule, these are pieces of unmitigated crap. However, when you’re in trouble, they work.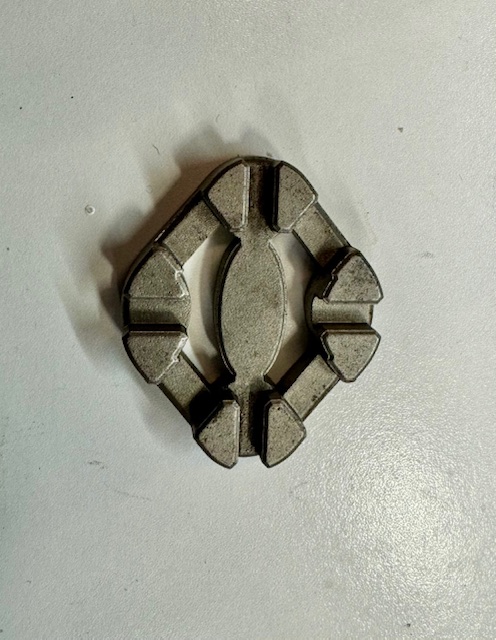
Wolftooth Pack Wrench, with lockring bit, 8mm bit. The wrench is too big to fit in the little box, but easy enough to pack in the travel case or suitcase. The lockring bit will work on cassettes and centerlock disc rotors, the 8mm bit can break a stubborn pedal free, and the wrench can do bottom brackets and rotor lockrings. After 4 years of use, the ring on the wrench is a bit stripped, but I’m starting to switch over my lockring style from external to internal to work around that problem.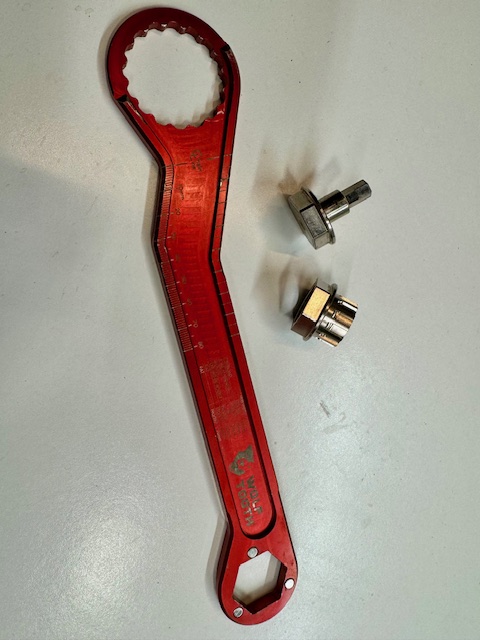
Contact lens case with grease & anti-seize. I wish I was brilliant enough to have throught this up on my own, but I saw it on (I think) a bikepacking site.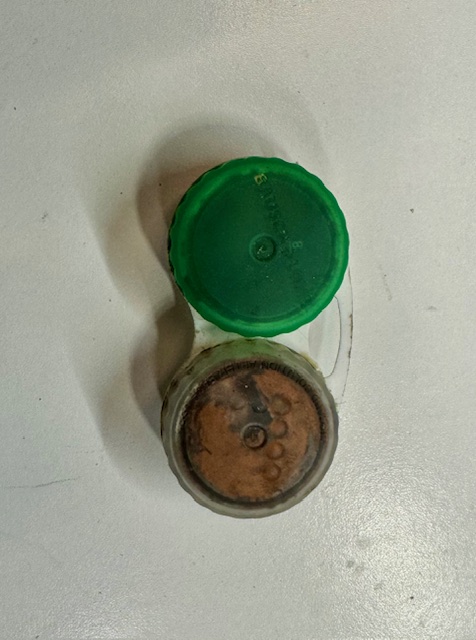
Tiny bottle of Squirt (or whatever top-up lube you like).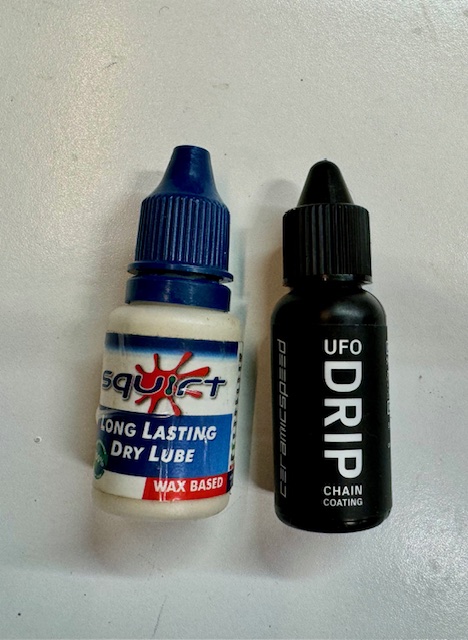
Spare BOA dial & cable (L&R). BOA’s warranty is amazing, but if you’re out in some godforsaken place, you can’t really order up a replacement dial. Fortunately, they will send you kits if you break a dial at home, and they usually include a couple spares. Alternatively, you could use lace-up shoes.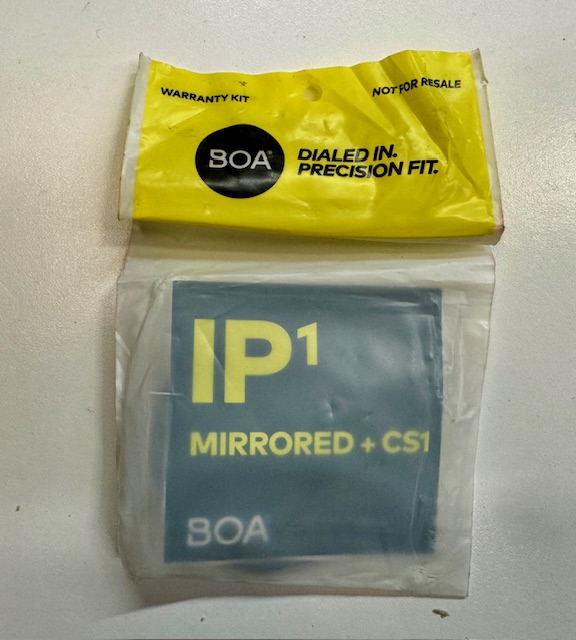
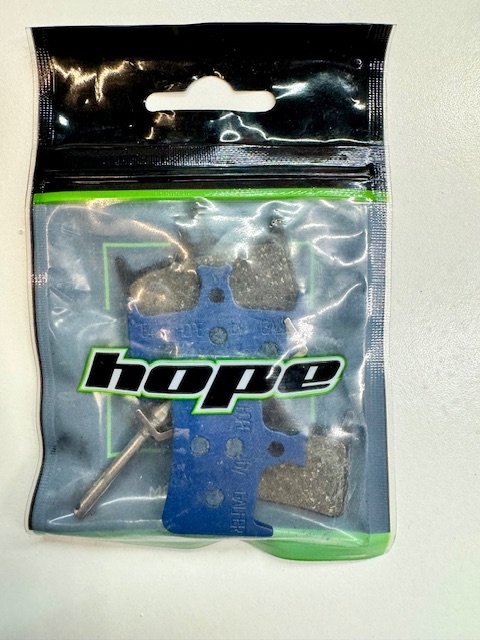
Spare brake pads. Duh.
Spare valve stems, pedal washers, hose guides, 2032 batteries, etc. Don’t forget zip ties and twist ties. I used to include cable housing ferules and crimp ends, but now that we’re traveling with hydraulic brakes and AXS shifting, the cable stuff stays home. These are the little bits and bobs that can make your day a bit easier.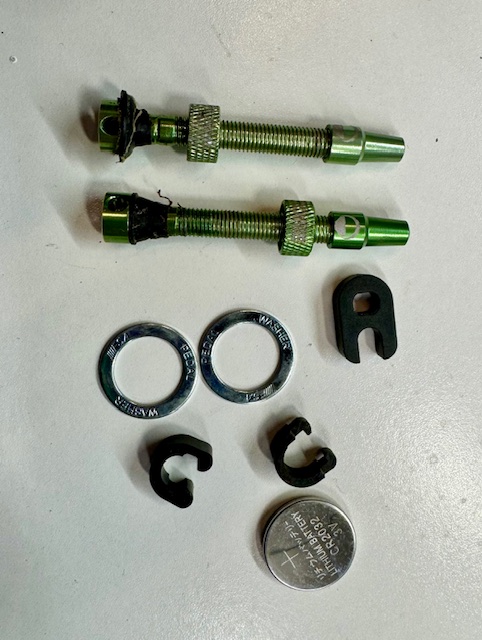
Micro bleed kit. This is bad-ass. You put a little bit of brake fluid in here and can lever-bleed if you run into trouble. Money well spent. I bought two- one for each type of fluid (DOT or mineral oil) and clearly labeled them. I also bought spare O-rings and those travel in a sealed baggie with the little vessel. I generally only travel with DOT brakes, but the mineral one will also work as a mini bleed cup on my Maguras at home.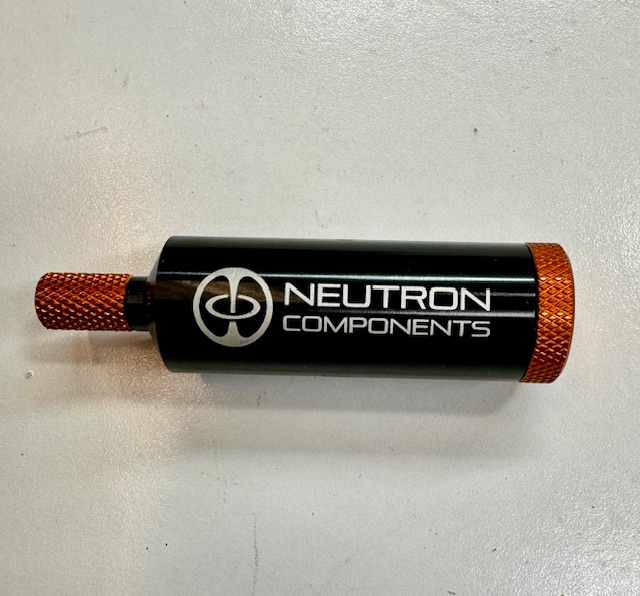
Spare brake bolts. This little kit is in a hot-sealed bag. My preferred travel wheels are centerlock, but the rotor bolts can also fit water bottle bosses.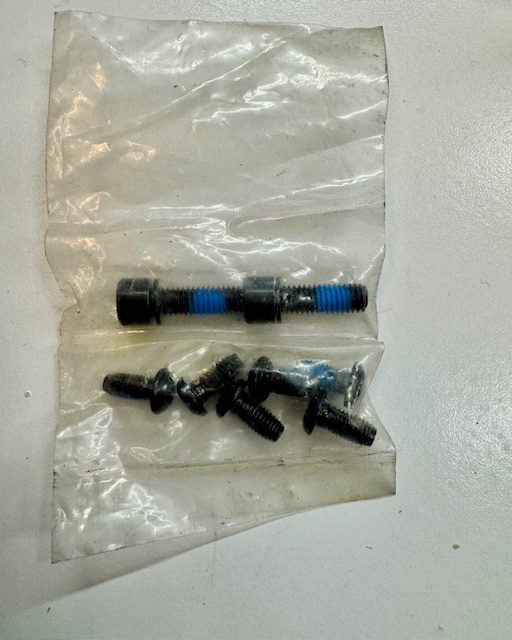
Crush washer and seal washer for cranks.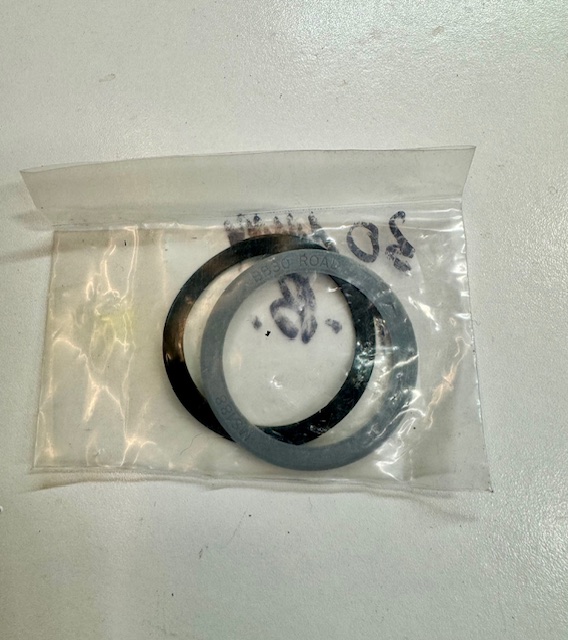
Spare Go-Pro light mount, in this case Bontrager for my 200-series DRLs.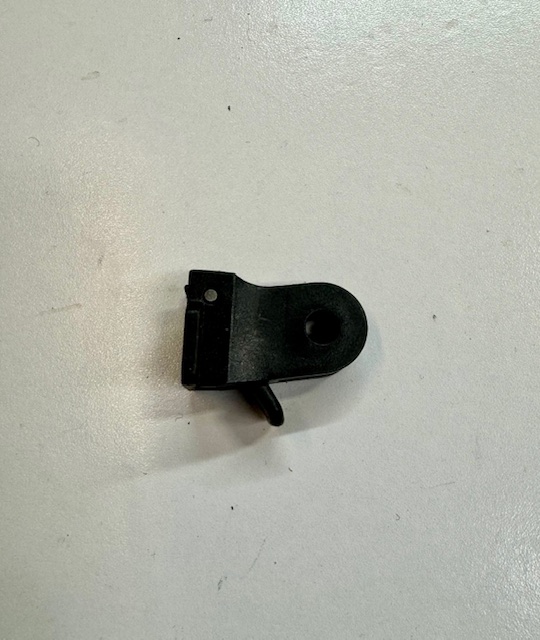
Dynaplug refills.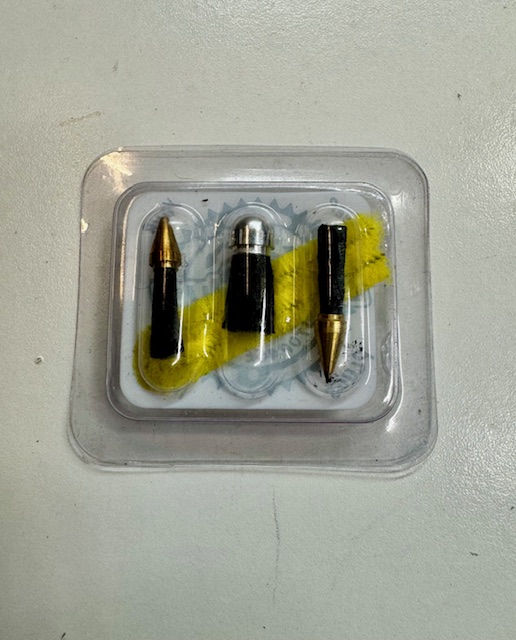
Tire sealant (4oz) and kit wash soap. The tiny Assos bottle was a sample from a fondo, I just refill before the trip because taking 12 or 16oz is overkill. Most trips use about 1/2 of this little bottle. Again, duh.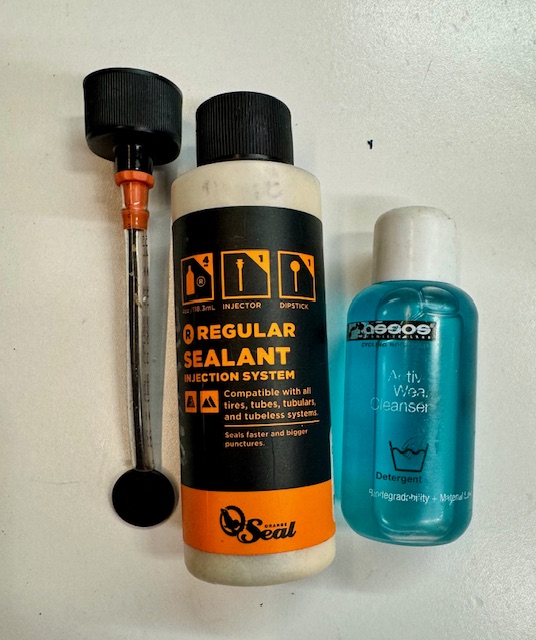
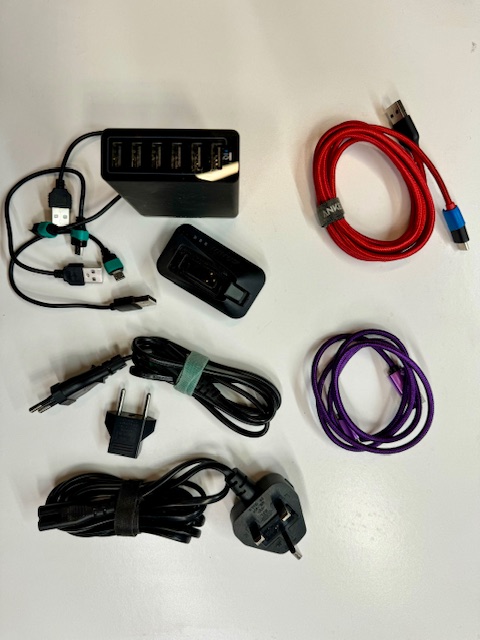
Charging & Power Kit
This is pretty straightforward, but we might as well cover it. In this kit I have a 6-port USB charger with Euro, US, and UK cords, 2 USB-C cords (phone, tablet, bike computer), 4 Micro USB cords (lights, anything Garmin), and 1 Lightning cord (AirPods). A SRAM battery cradle is here as well. There’s room in the case for DRL lights and SRAM batteries (with covers, legal for being in the aircraft hold becase the terminals are covered). Upon arrival at the hotel or apartment, this gets plugged in and stays put. It’s all a bit big and a hassle for in-flight power, basically the external cable and size of the 6-port charger is just a bit much to fumble in the gate area or for under-seat charging. Like the tool kit, this gets packed in a checked bag or with the bike.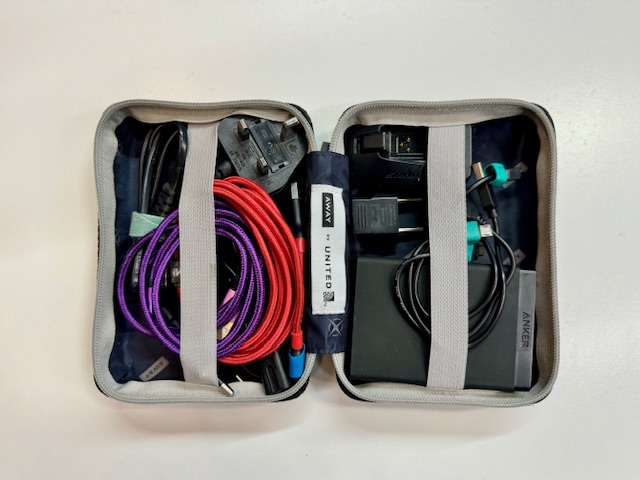
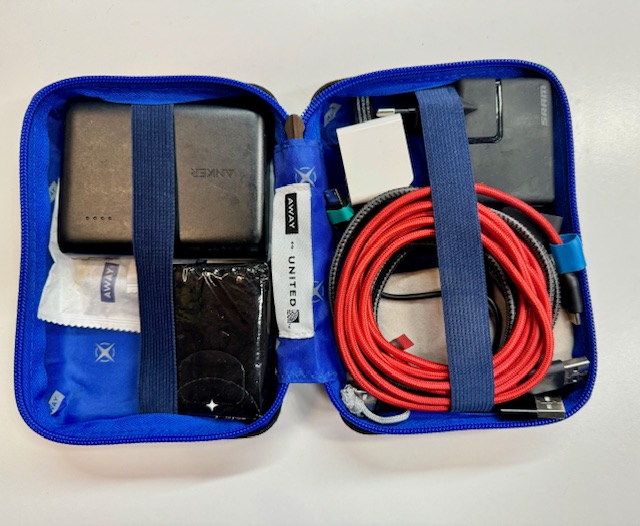
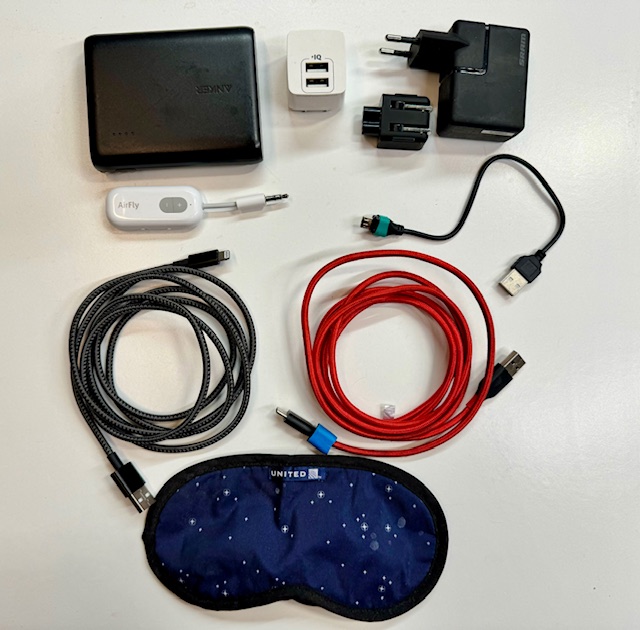
In-Flight Power Kit
Again, no science here, but I have a 2-port USB charger with US and Euro plugs, then a tiny 2-port cube with US plugs and a Euro adapter, 10,000mAh battery, and a couple of cables. These chargers can double-up the 6-port once at the destination, and are small and easy to use in airport lounges, under seats, etc. The booster battery does better if you plug it in to your device when you get on the plane, rather than wait until your device is nearly dead before charging it. I include a micro-USB cable so I can recharge the booster battery. The 12 South AirFly allows you to listen to the in-seat TV over your own Bluetooth headphones. Earbuds also fit in this case. It might be a bit more to carry on board than I actually need, but the case is handy and the stuff will be used on planes, trains, and automobiles, as well as at the hotel.
Variations on tool kits:
For these kits I fully blame ToolBoxWars on Instagram. They post incredible photos of OCD tool kits, and I end up with major tool kit envy.
Mrs. MAMIL travels with her bike for work (she is a chef for a cycle touring company), so I built her a kit out of a small Pelican case I had. Upcycled packing foam takes the place of Kaizen foam, but you can use that as well. This is pretty much the same tool kit, but in a friendlier box. I also included a re-purposed patch kit box which holds her chain, and a spare 6mm hex for through axles. She gets the same Wolftooth pack wrench and bits, one time another guide over tightened her pedals ( you don’t need to go more than a bit past finger tight) and she struggled to get them free to pack the bike. 4oz of sealant, a valve tool, syringe, and top-up chain lube are here, as well as a battery cradle, lens case with greases, and spots for her DRLs. Her shoes are BOA-free, and she’s simply not going to futz with the other stuff I like to bring, so this is much easier for her.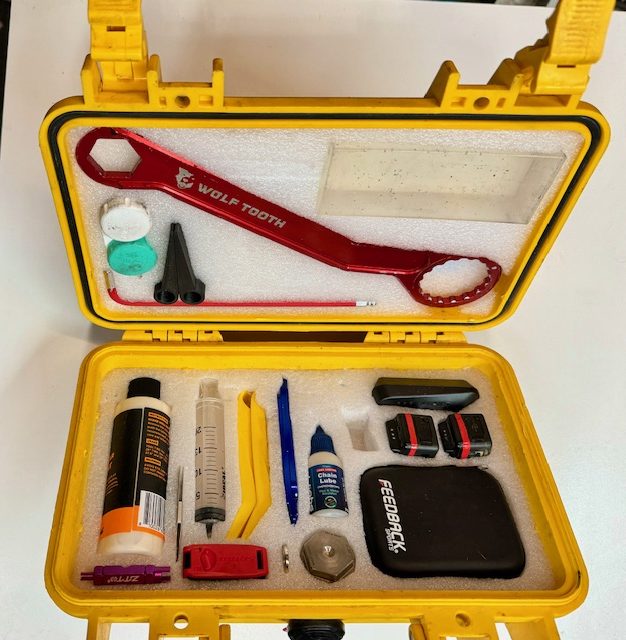
The Pre-MAMIL also has a tool kit, this time in a larger box, but it has as much of a bike shop as I could fit into this smallish case. Once again, it has all the same basics, but adds a full bleed kit, spare rotors, lockrings, levers, hanger aligner, battery cradle. This is suitable for hotel room or race pit panic repairs, but not really full durability for a home shop.

Other Crap
I bring a pair of nitrile gloves, shop rag or two, and drop cloth. The drop cloth is actually a surgical drape, which is light and durable. It can also save your deposit on a rental apartment.
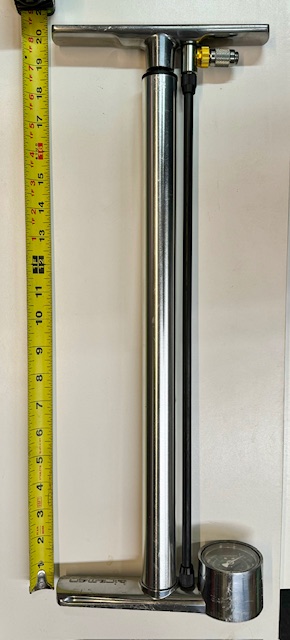
The Birzman Tiny Tanker travel pump is reasonably light and small and fits with ample room to spare in my bike case. Reasonably priced, its one downside is that it’s easy to knock over due to its small footprint, but I just put it on its side after use. It’s also never unscrewed a valve core *coughLezynecough*.
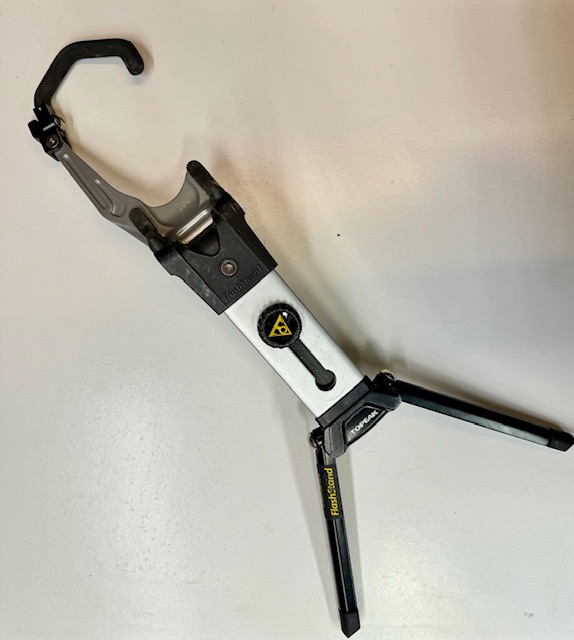
Topeak folding bike stand- this little unicorn is about 20 years old, but it can make work really easy in a hotel room. It unfolds like a little Transformer, cradles the bottom bracket and has a hook aorund the downtube, and really works nicely. They may still be out there in the world, if you can find one, grab it. Not too heavy, it’s something that you hope to not need, but sorely miss if you do and it’s at home.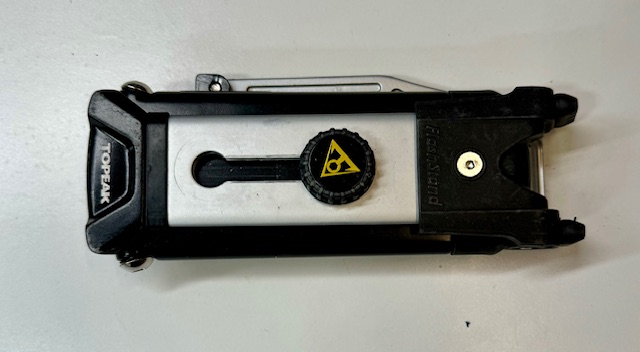
All in, the tool kit, pump, mini-stand, and spare fluids add under 5lbs to my total gear weight. My loaded bike case is typically around 55lbs with this stuff inside, but since my checked bag is usually in the low 20-lb range I can easily redistribute this weight. There are undoubtably some minimalist readers who will say I carry too much with me, and they’re probably correct, but I’ve never sweated a technical issue in a hotel room in some far-flung destination the night before a big ride.
One Reply to “Traveling With a Bike Sucks, Part VII: What a Tool”
Comments are closed.